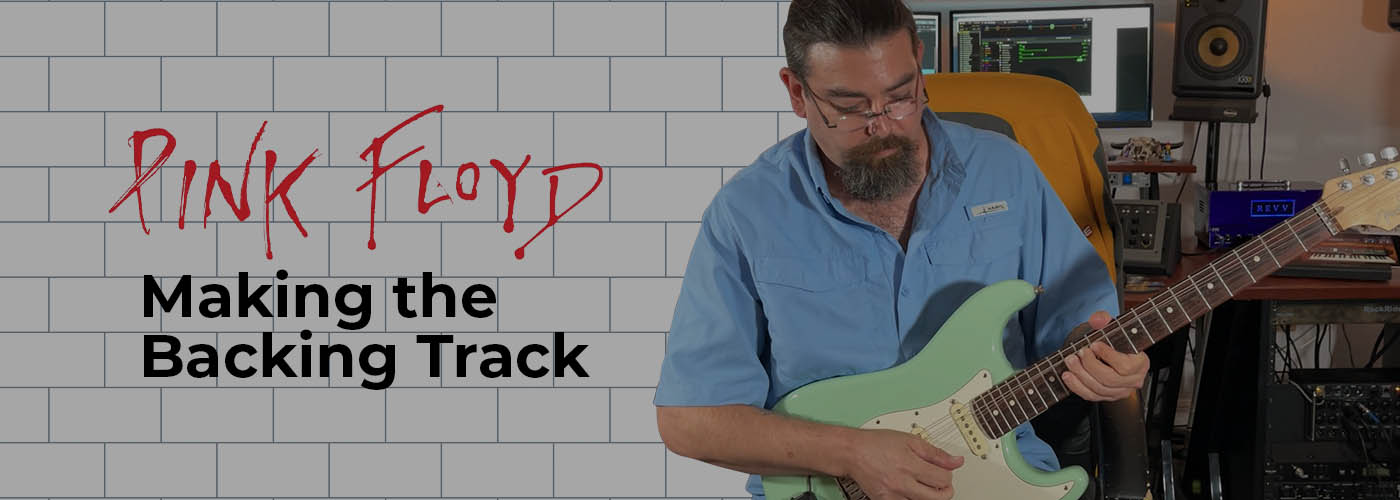
If you’ve ever wondered how people make their backing tracks then this is for you. This is a walkthrough of how the Pink Floyd, “Another Brick in the Wall, Part II” backing track, that was featured in an Ultimate Guitar shot, was made.
Making of a Backing Track – Pink Floyd
If you’ve ever wondered how people make their backing tracks then this is for you. This is a walkthrough of how the Pink Floyd, “Another Brick in the Wall, Part II” backing track, that was featured in an Ultimate Guitar shot, was made.
The Guitar Rig
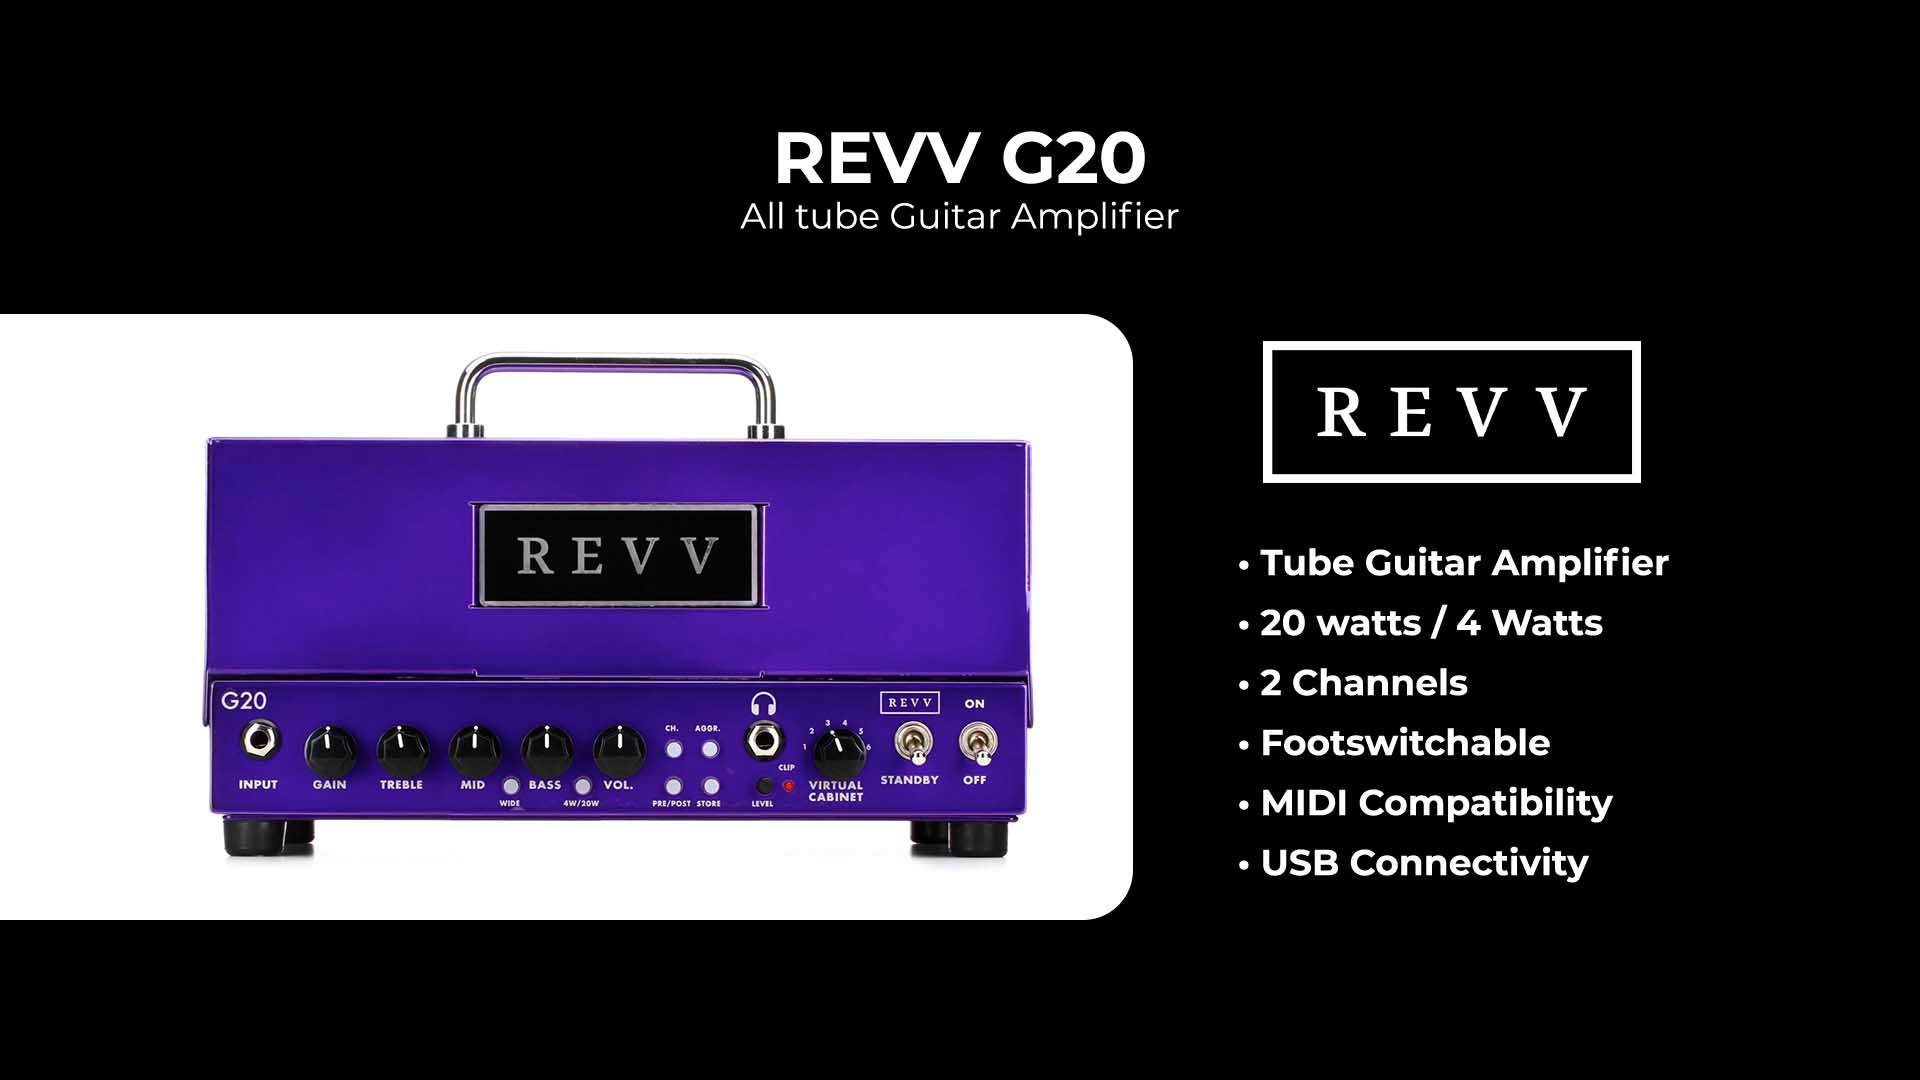
Revv G20 Tube Guitar Amplifier
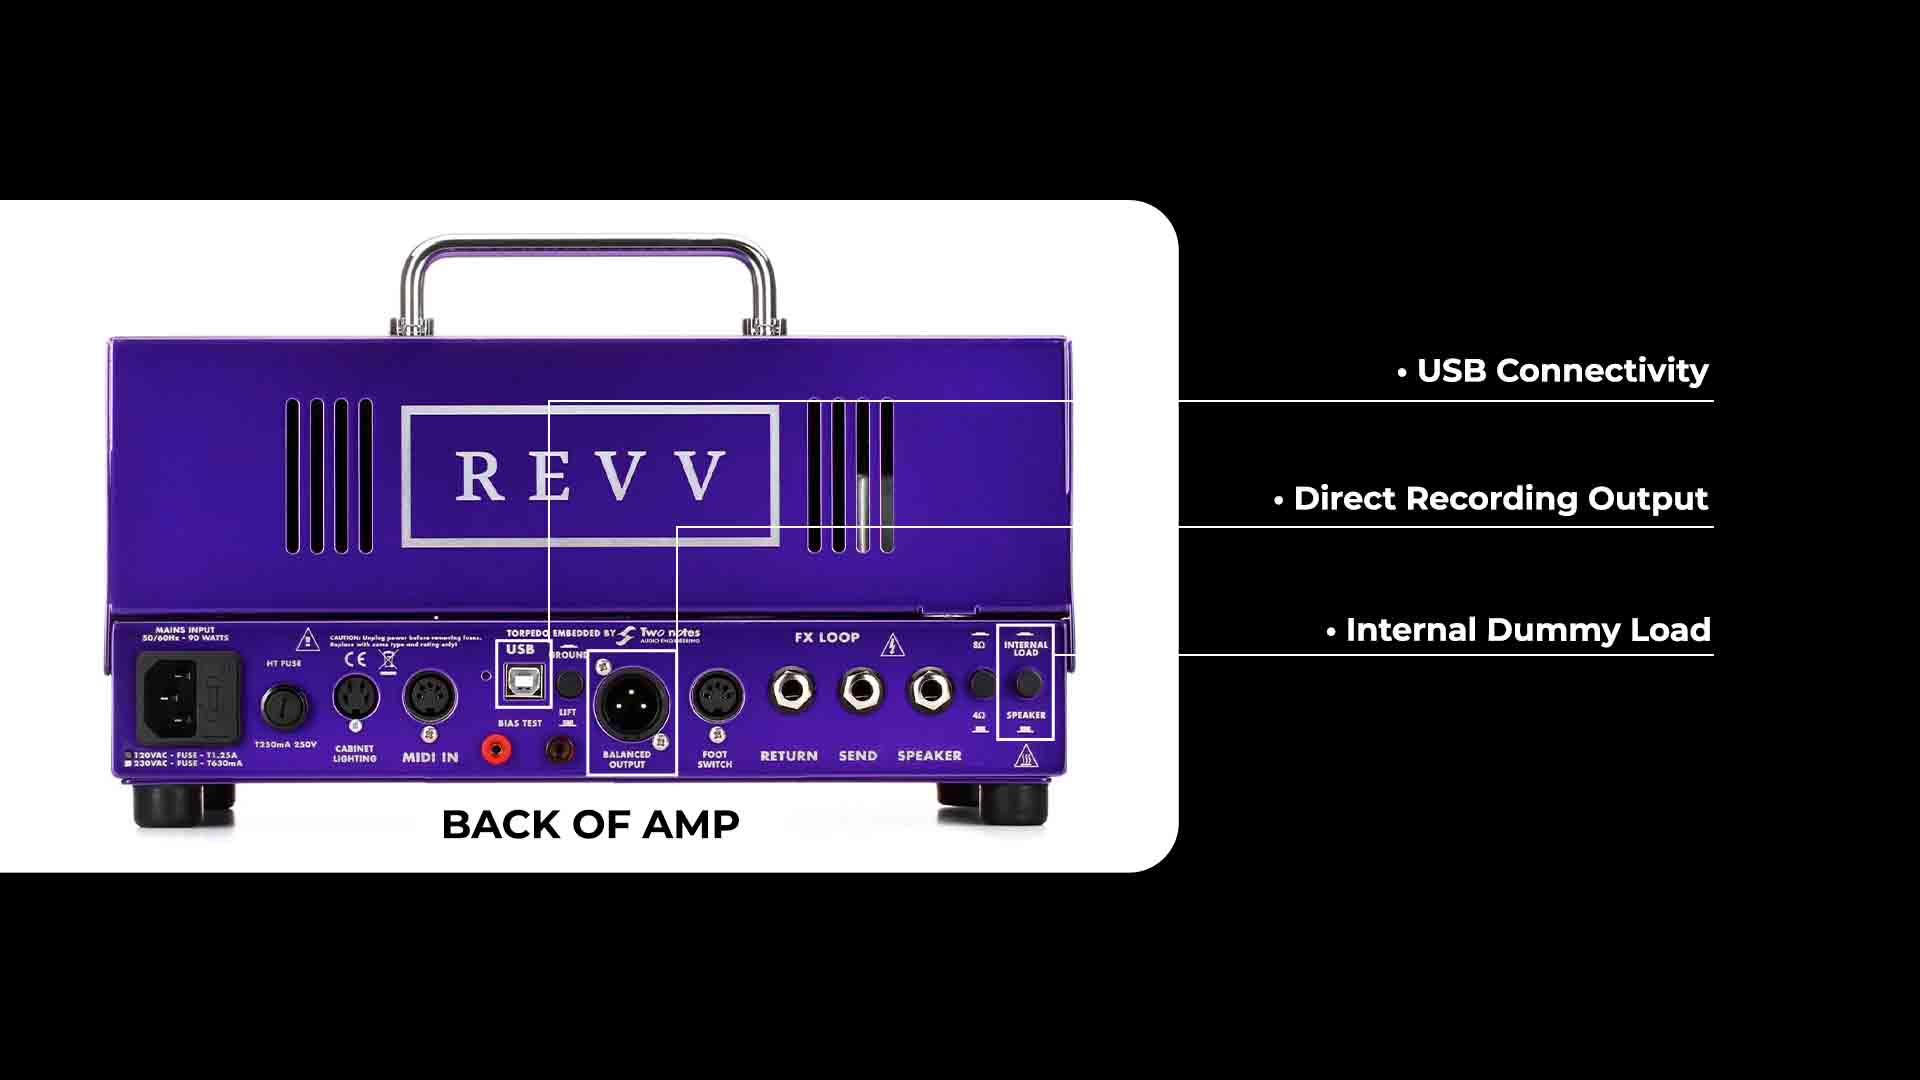
The Revv G20 (pictured in purple) is both a Tube Guitar Amp and a direct recording amp all in one.
It is a 2 channel amp that is foot switchable. It can also be controlled via MIDI. It can be connected to your computer via USB and works with the “Torpedo Remote” software.
It also features silent recording via a switch on the back which will provide a dummy load for when a guitar cabinet is not connected and uses an XLR (microphone cable) output for direct recording.
Line6 HX Stomp
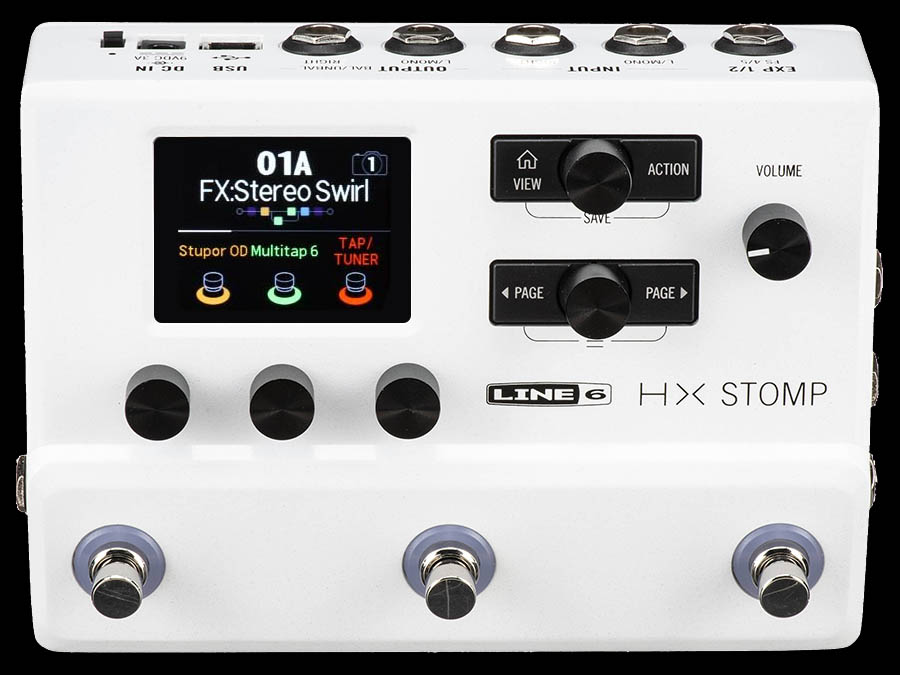
The Line6 HX Stomp is an all-in-one guitar rig and recording interface. This is an awesome and fairly budget minded unit.
If you had no other equipment other than your computer and wanted to make great sounding guitar recordings, then I highly recommend this.
This has guitar amp and cabinet simulations, guitar pedal simulations and is very easy to use. You can edit your guitar rigs using the “HX Edit” software or you can do your editing on the device itself.
I am using this in conjunction with the Revv G20 guitar amp so I am only using the pedal simulations in this scenario.
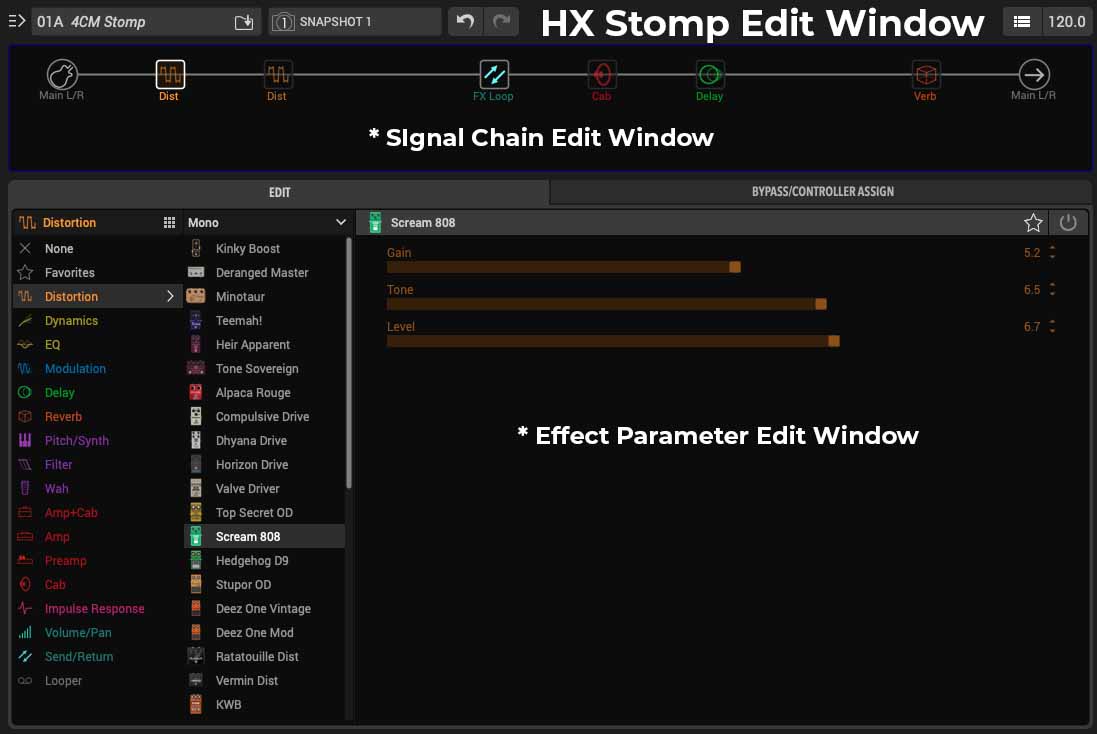
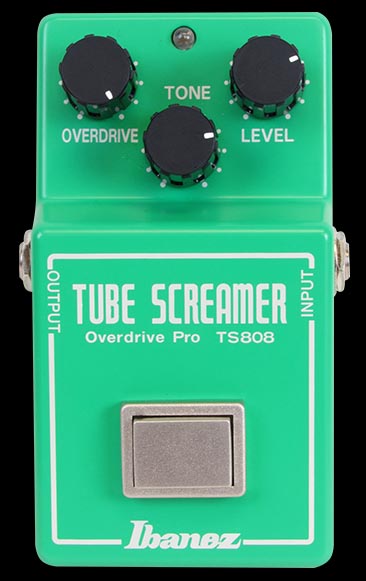
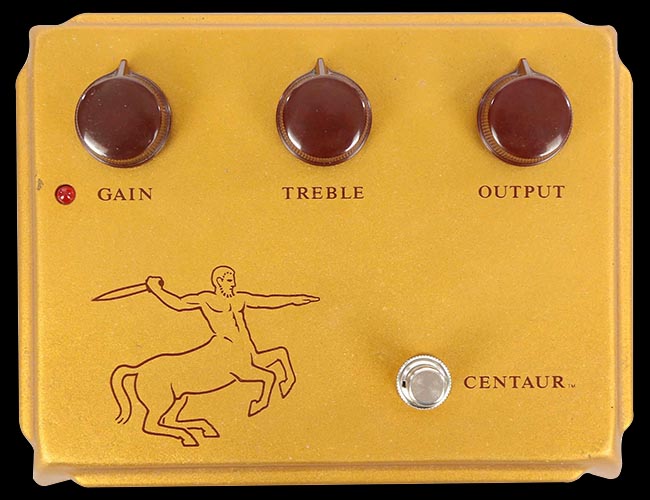
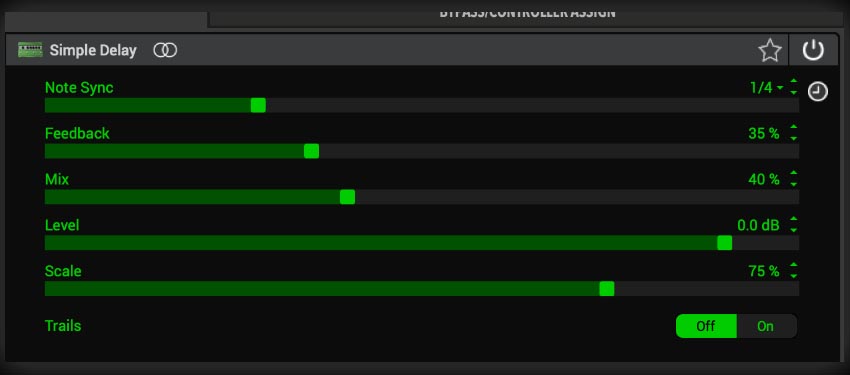
The pedal models that I have setup on my pedal board from the HX Stomp are as follows:
The Drums
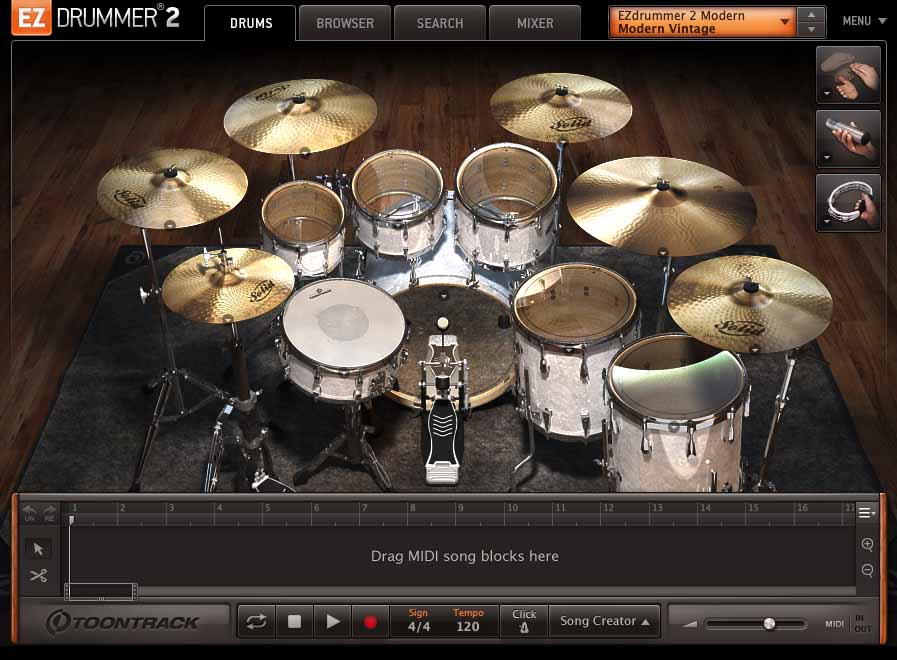
EZDrummer2 by ToonTrack
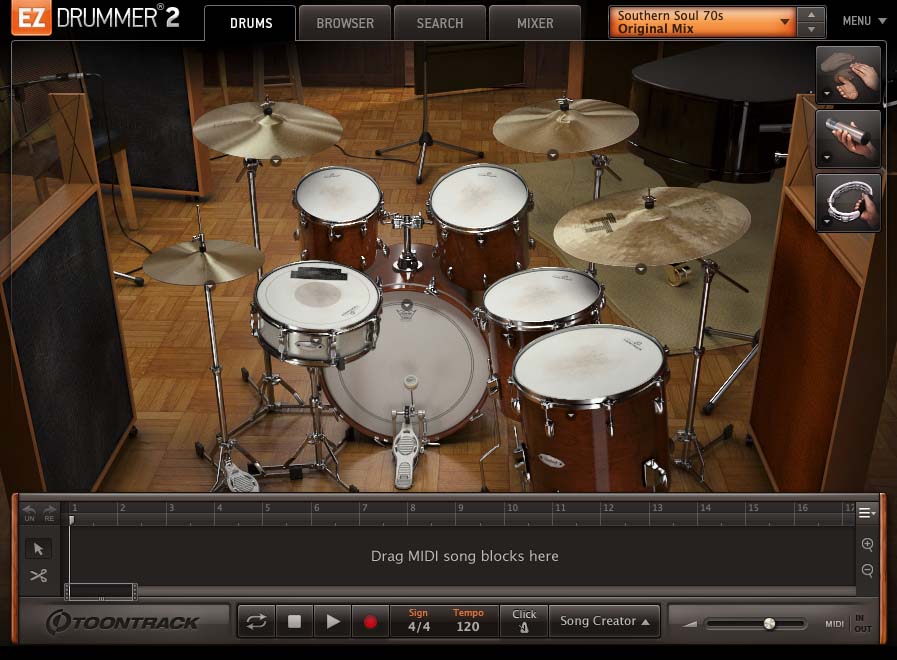
EZDrummer2 is a Virtual Instrument for drums. This is made by an amazing company called ToonTrack.
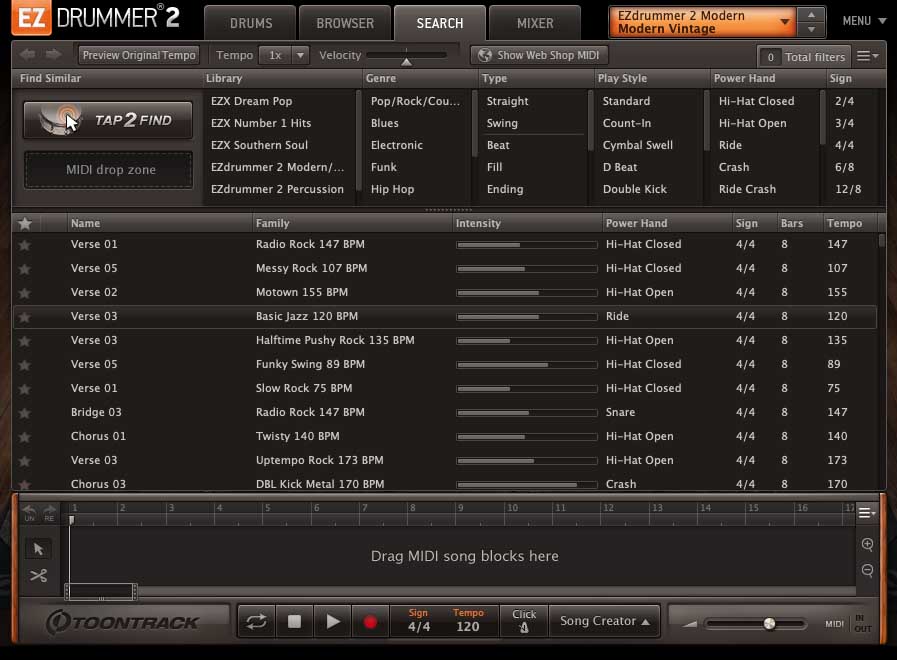
In a nutshell, you have drumkits to choose from, then you have pre-built drum patterns you can use and everything can be edited in your DAW. The whole thing is “drag and drop” and is very easy to use but also has alot of deep editing if you really want to get crazy.
What is really special about EZDrummer2 is that all of the sounds are real recorded samples with extreme fidelity played by some incredible drummers.
You will be shocked at how real sounding these drums are and also how easy it is to make your own beats or make variations of the pre-built patterns.
The Drum Pattern
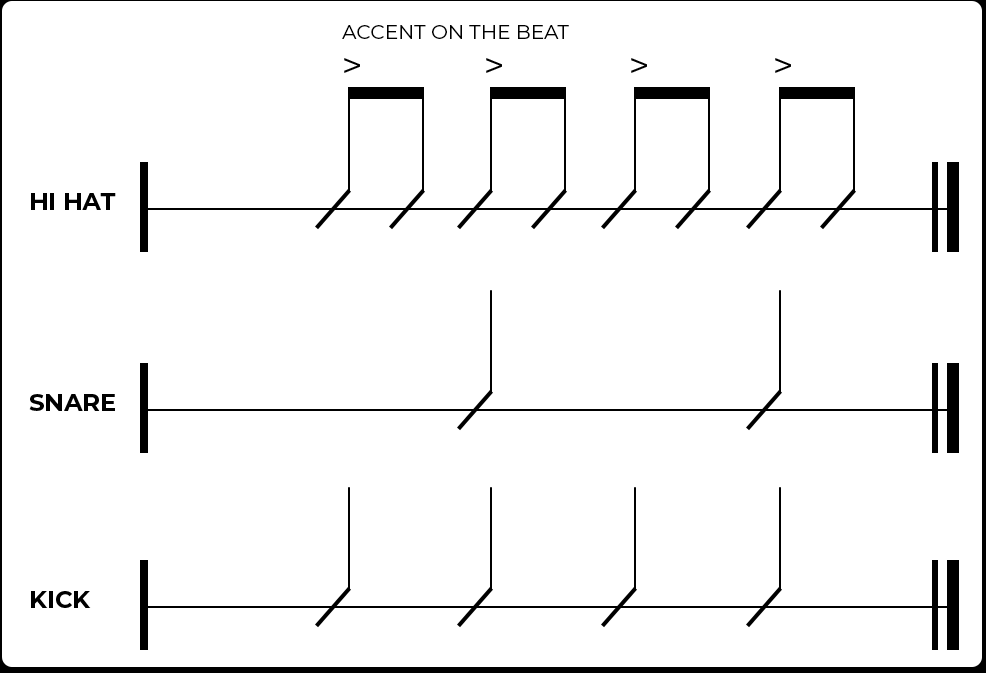
This music notation is not as complicated as it may look.
The “beat” could be simply defined as when you are tapping your foot to the song. These would typically be quarter notes. For 8th notes, you would be tapping your foot twice as fast.
Hi Hat: For every beat, the drummer is playing the hi hats twice (8th notes). The accent means, on the beat he is hitting the hi hat harder than when he hits the hi hat in between the beats.
Snare: He is hitting the snare drum on the 2nd and 4th beat.
Kick: He is hitting the kick drum on every beat. This is also called “4 on the Floor”. This is very common in Disco, Electro, Club style music and many other genres.
The Organ
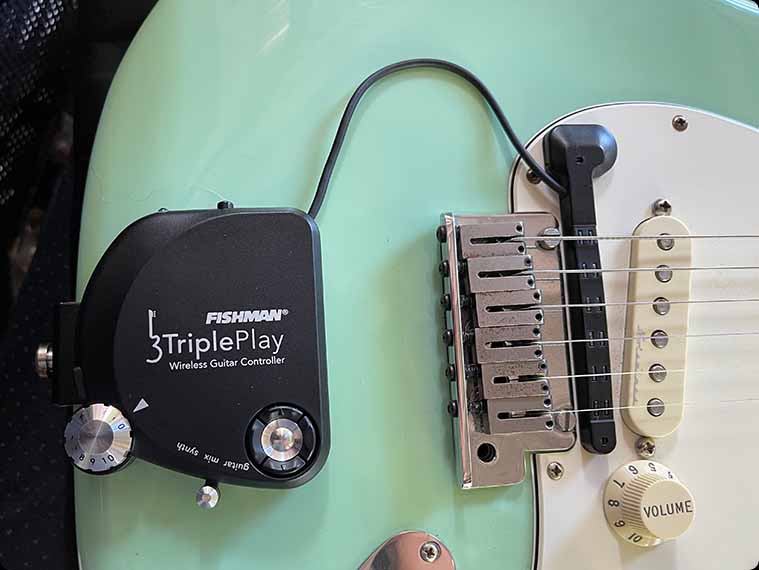
Fishman TriplePlay | MIDI Pickup
The rhythm section for this song doesn’t appear to have any guitar in it. It is possible there is but the prominent instrument is Organ. For this I used the Fishman TriplePlay.
This is a MIDI Guitar Pickup. It attaches to the guitar and then converts the vibration of the guitar strings into MIDI information.
MIDI can be understood by a keyboard and therefore will allow me to play keyboard modules or apps or virtual instruments.
This is not as magical as it sounds, this technology still has a long way to go, but if you don’t mind working within the limitations, it is very useful.
The organ parts could just have easily been sequenced in my DAW and not have to be played but I prefer to play things live when I can.
Doing this helps add some more human element to the music.
For the organ sound I used the IOS app by Korg called “Module Pro”. This has alot of great sounds in it and Korg is highly regarded for their hardware and software.
Correction
The Bass
Presence Virtual Instrument | Presonus Studio One
For the bass guitar I decided to sequence the parts rather than play them.
I am using Presonus Studio One as my DAW and it has a sequencer built into the software. It is not as fancy as Ableton or FL Studio but it is flexible enough to do most things.
I am using Studio One’s virtual instrument called “Presence”. This virtual instrument has some pretty good bass sounds.
Guitar Signal Chain
What order does my guitar equipment go in?
The “signal chain” refers to the order of devices as a signal passes through them from the source to its final destination. This isn’t limited to audio. This could just as easily be used to refer to a video signal.
In our case, I want to discuss the signal chain for my guitar rig for the lead guitar sound.
In this diagram you can see the signal chain that I used for the lead guitar.
- The sound starts at the guitar
- it then goes through the Tube Screamer Pedal
- then it goes into the input on the front of the amp
- the sound goes through the preamp section of the amp (EQ, Volume and Gain Stage)
- the sound is sent out of the back of the amp into the Delay Pedal
- the signal then goes into the Reverb Pedal
- it returns back to the amp (Power Section) and is sent to our virtual Speaker Cabinet
In this particular case I am using a real amp so to make this signal chain, your amp must have an effects loop. The effects loop lets you send the signal of the preamp section of your amp to other devices before it returns to the power amp section and then on to the speaker to be heard.
If you are using an all-in-one amp modeling device, you can do the same thing in the software of the device (This is true for all of the all-in-one devices I have used – there may be some that cannot do this).
If I only used the Line6 HX Stomp, I could have done this same signal chain but using only the amps, cabs and pedals in the “Stomp” and put them in that same order.
Your overall guitar sound can be changed simply be changing the order of your devices. There are definitely some recommended methods but it doesn’t mean you can’t experiment.
The method I have used is a very common signal chain method.
- Guitar
- Tuner / Wah / Volume pedals
- Overdrive / Distortion Effects
- Front of Amp (Input Jack)
- Effects Loop Send
- Time Based Effects (Chorus, Phaser, Delay, Reverb, etc.)
- Boost Pedals
- Effects Loop Return to Power Section of Amp
- Lastly, the sounds comes out of the Speaker
This method is only a recommendation. It is a good one to put to memory but it is by no means the only way to order your equipment.
What Gear did Gilmour Actually Use?
www.Gilmourish.com
Since I wasn’t familiar with David’s equipment I chose to do a little checking around.
I came across an excellent article, I highly recommend it if you are interested in the specifics.
Ways you can help the website:
The Tip Jar
If you are feeling particularly helpful you can always throw something in the tip jar. It is much appreciated.
https://www.paypal.me/guitarcurmudgeon
Guitar Curmudgeon Coffee Mug
If you don’t have enough Coffee Mugs in your collection, you can get one here:
zZounds
This site is an affiliate of zZounds where I have bought my equipment for many, many years now. If you buy something from zZounds by clicking a link from this site, then GuitarCurmudgeon.com will get a small commission of the sale. This helps offset the expenses to maintain the website and content.
Send a Message
If you have something you want to share or just have questions, send me a message:
